

And we're back.
Planted so far in Bed 1: lettuce, beets, romaine seedlings, onions and brocolli transplants.
Actually, planted most of that five weeks ago at the end of January and covered the 4x4 section with a plastic drop cloth over bent 1/2" PVC, per Mel's SFG plan. This worked very well, even in out unseasonable snow.
Compost heaps are building. One is the working heap, one is the kitchen waste heap. Took out the bin composter: didn't work well enough for the space it took up. Will probably store bags of soil, peat, etc. in it in the garage. Leaf mold container is up and being filled.
NO hanging plants this year. They are too labor/water intensive for Texas.
Will try containers again on the step-holder. This year will provide better drainage.
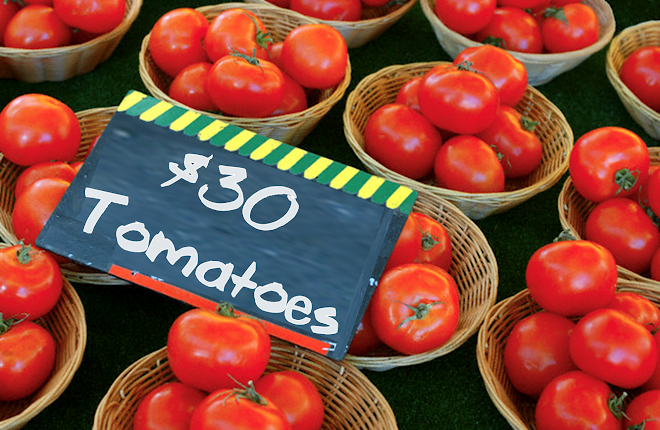
Inspected the Garden Box planter at Calloway's but at $70.00 per box, that is too pricey.
As an experiment, I'm drilling some extra-large holes for run-off in the bottom of one of my long plastic planters. Then, I'm drilling holes in some plastic take-out containers, cutting down the sides and placing them upside down in the bottom of the planter, to provide some air space for the roots. This seems to be a key element of the Garden Box. I will see how it works in a mini-me version.
Also experimenting with take-out containers as tiny greenhouses for seedlings, as well as a commercial one from Lowe's. Planted: lettuce, leaf lettuce, squash, cosmos and zinnias.
One goal is to plant pollinator attractors on all three sides of the vegetable beds in the two fence beds and the stair steps.
To do: make new grids.
Make new pipe trellis.
Transplanted: Oregano, rosemary, dill, lemon thyme, German thyme along back fence.
Planted: peas (3), strawberries (2)
Showing posts with label mesclun. Show all posts
Showing posts with label mesclun. Show all posts
Wednesday, March 3, 2010

Sunday, May 10, 2009
Progress So Far...
Baby vegetables-
 I haz dem.

 I haz dem.
Various garden views


The Garden Shrine
 yes, that's a recycled squirrel feeder.
  The stringers with 2x2" braces in placed.
 I did not want to attach this to the fence, so we added some 2x4" uprights.
  A better view of the shelves in place. The three narrow shelves are placed in the middle of the steps to give the planters more room on the back. The shelves were attached with a single screw on each side. I'd like to put in a plug for the ratchet screwdriver, my new best friend. The kids got to help put the screws in. We drilled the holes before they arrived, b/c while I do allow them to mess around in Sedona Sunset deck stain, I do not allow them to actually use power tools.
 One of the purposes of this project is to play around with different types of DIY underground watering systems. I have ollas in one of the garden beds and am trying to find a less expensive substitute. This is an unglazed terra-cotta rose pot. Notice that it has no drainage hole in the base. I'm using one of these in both the pumpkin tub and the tomato container, sinking them so that their tops are a little above the soil level. They'll be covered with a terra-cotta saucer of the proper size.
 Other candidates are plastic water bottles and large plastic drink cups from the BBQ.
  I'm wondering if the space underneath could be used for a small-scale composting bin, if you added ran some boards along the sides of the stringers. I think that with a wood frame and some plastic sheeting, this could also make a little greenhouse for seed starting.


The Garden Shrine
yes, that's a recycled squirrel feeder.Inspired by the urban gardeners in the last post, I decided to make an experimental container garden area, using deck stair stringers from the Bob Store (Lowe's) and left-over and/or scavenged lumber. The shortest shelf is 24", the longer ones are 30". They're cut to fit the length of the planters, also recycled/scavenged.
The stringers with 2x2" braces in placed. I did not want to attach this to the fence, so we added some 2x4" uprights. A better view of the shelves in place. The three narrow shelves are placed in the middle of the steps to give the planters more room on the back. The shelves were attached with a single screw on each side. I'd like to put in a plug for the ratchet screwdriver, my new best friend. The kids got to help put the screws in. We drilled the holes before they arrived, b/c while I do allow them to mess around in Sedona Sunset deck stain, I do not allow them to actually use power tools.One of the purposes of this project is to play around with different types of DIY underground watering systems. I have ollas in one of the garden beds and am trying to find a less expensive substitute. This is an unglazed terra-cotta rose pot. Notice that it has no drainage hole in the base. I'm using one of these in both the pumpkin tub and the tomato container, sinking them so that their tops are a little above the soil level. They'll be covered with a terra-cotta saucer of the proper size.Other candidates are plastic water bottles and large plastic drink cups from the BBQ.The shelf unit in place:

 And with some planters:
And with some planters: I'm wondering if the space underneath could be used for a small-scale composting bin, if you added ran some boards along the sides of the stringers. I think that with a wood frame and some plastic sheeting, this could also make a little greenhouse for seed starting.
The top shelf is herbs. The middle two will be salad greens, radishes, possibly carrots. The bottom shelf will have a tomato, a pepper and an eggplant in single containers.
Saturday, February 14, 2009
Journal Feb 14
Cool, partly cloudy. HI: mid-50's
Sis came over with the children and O and Bubs helped me set the bed in place.
We had a little lesson on using a level. It's not perfectly straight, but it's better than the first one.
We carted several loads of dirt to fill in the trenches and the bed.
O helped me rake it smooth. I need to get them a small shovel and hoe or rake.
Made one grid for the new bed. Only need one, as half the bed will be devoted to corn and cowpeas.
Mesclun is just barely up.
Next projects: resetting the pavers in the Bird Garden (its new name), using some of the dirt and moving the bird bath out from under the feeder.
Sis came over with the children and O and Bubs helped me set the bed in place.
We had a little lesson on using a level. It's not perfectly straight, but it's better than the first one.
We carted several loads of dirt to fill in the trenches and the bed.
O helped me rake it smooth. I need to get them a small shovel and hoe or rake.
Made one grid for the new bed. Only need one, as half the bed will be devoted to corn and cowpeas.
Mesclun is just barely up.
Next projects: resetting the pavers in the Bird Garden (its new name), using some of the dirt and moving the bird bath out from under the feeder.
Subscribe to:
Posts (Atom)